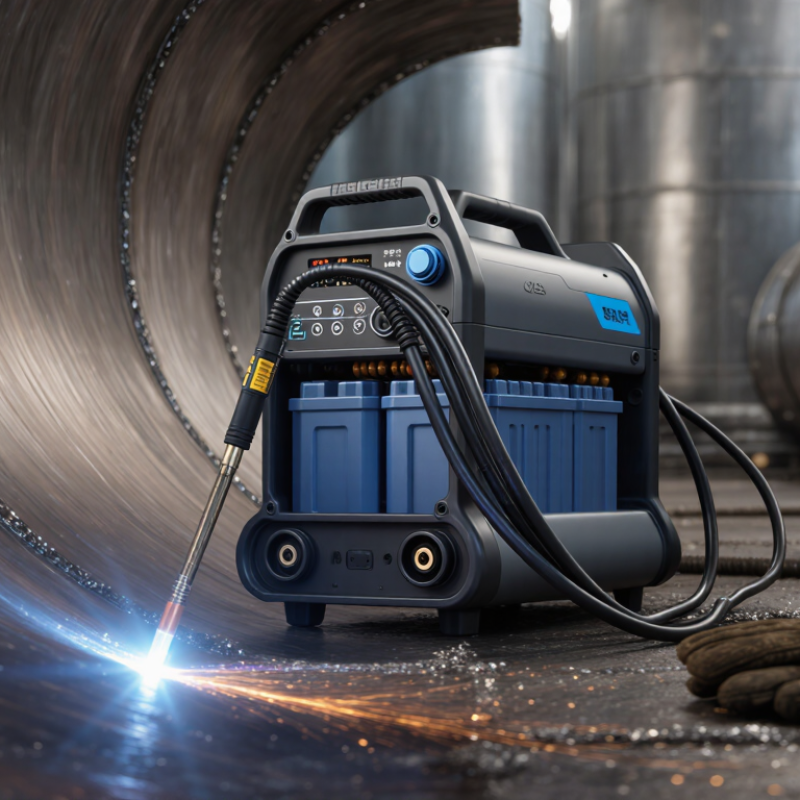
| Application Fit | Welding process | Confirm whether the unit supports GMAW, FCAW, GTAW, or a dedicated internal pipe-welding process | The power source, wire-feed system, shielding-gas arrangement, and torch design must match the specified welding process. Do not assume that a battery-powered unit supports every process. |
| Application Fit | Workpiece and access envelope | Verify pipe or vessel internal diameter, access length, joint geometry, and available clearance before purchase | Measure the smallest internal diameter at the weld location, including temporary supports, cable bends, torch angle, and the space required for inspection and retrieval. |
| Electrical System | Battery chemistry | A certified rechargeable lithium-ion battery pack is common; use only the battery chemistry specified by the equipment manufacturer | The charger, battery-management system, protection circuit, and enclosure must be compatible. Never substitute a pack solely because its voltage appears similar. |
| Electrical System | Battery voltage | Common portable welding-system ranges are approximately 18–60 V DC, depending on design and output class | Treat the published voltage as nominal unless the documentation states otherwise. Check maximum charging voltage, polarity, connectors, and protection ratings. |
| Electrical System | Welding output range | Select an output range appropriate to the electrode, wire diameter, material thickness, and approved welding procedure | A practical compact-system range may be about 40–200 A, but the actual duty cycle and process limitations are more important than the maximum current alone. |
| Electrical System | Duty cycle | Prefer a published duty cycle at the intended current, commonly expressed over a 10-minute test period | For example, a 60% duty cycle permits 6 minutes of welding followed by 4 minutes of cooling within the stated test conditions. Compare ratings at the same ambient temperature and current. |
| Battery Performance | Capacity and runtime | Battery capacity is normally stated in watt-hours (Wh) or ampere-hours (Ah); runtime varies with current, duty cycle, wire feed, and temperature | Estimate energy demand using watt-hours and include a reserve. Actual welding time is shorter than calculated battery runtime because arc efficiency, idle draw, and cooling pauses affect consumption. |
| Battery Performance | Battery reserve | Keep at least 20–30% usable capacity in reserve for safe return, cooling, repositioning, and unexpected delays | For confined or internal work, plan a retrieval method that does not depend on the remaining battery charge. A depleted battery must never prevent safe removal of the equipment. |
| Charging | Charging location | Charge batteries in a dry, ventilated, non-combustible area away from welding sparks and hot work | Do not charge damaged, swollen, wet, unusually hot, or leaking battery packs. Use the approved charger and keep terminals protected against short circuits. |
| Charging | Charging temperature | Follow the battery documentation; many lithium-ion packs should not be charged below 0°C or above approximately 45°C | Allow a hot battery to cool naturally before charging. Exact limits vary by cell and battery-management system, so the product manual takes precedence. |
| Safety | Confined-space assessment | Mandatory Complete a documented confined-space risk assessment before entry | Evaluate atmospheric hazards, engulfment, access and egress, communication, rescue, isolation, lighting, heat, fumes, and the presence of other workers. Battery power does not remove confined-space hazards. |
| Safety | Atmospheric testing | Test oxygen, flammable gases or vapors, and relevant toxic contaminants before and continuously during work as required by the risk assessment | Use a calibrated and bump-tested monitor. Establish site-specific alarm levels and evacuation actions. Welding fumes and shielding gases can displace oxygen in enclosed areas. |
| Safety | Ventilation and fume control | Provide effective local exhaust or forced ventilation suitable for the welding process and enclosure | Do not use oxygen for ventilation. Position extraction so it removes fumes without disturbing shielding gas. Respiratory protection may be required when engineering controls are insufficient. |
| Safety | Personal protective equipment | Use the appropriate welding helmet or filter, flame-resistant clothing, welding gloves, safety footwear, eye protection, and hearing protection where required | Select lens shade and protective equipment for the welding current and process. Wear fall protection or retrieval equipment when the worksite assessment requires it. |
| Safety | Fire prevention | Mandatory Remove or shield combustible materials and maintain suitable fire-watch controls | Inspect the opposite side of the workpiece and adjacent areas for hidden combustibles, coatings, residues, or trapped gases. Keep suitable extinguishing equipment immediately accessible. |
| Safety | Electrical protection | Use intact insulation, secure connections, correct polarity, and a sound return path; avoid contact with wet surfaces | Inspect the electrode holder or welding torch, work lead, connectors, and battery terminals before every shift. Disconnect the battery before servicing or changing components. |
| Safety | Equipment retrieval | Provide a positive retrieval line, rated attachment point, or engineered extraction method where internal access creates a recovery risk | Do not use welding cables, shielding-gas hoses, or battery leads as improvised retrieval lines. Confirm that the retrieval arrangement does not obstruct the torch or create entanglement hazards. |
| Operating Requirements | Welding procedure | Use a qualified welding procedure specification covering material, joint design, consumable, current, voltage, travel speed, shielding gas, and preheat | Production welds should be performed by qualified personnel under the applicable project, industry, and regulatory requirements. Record deviations and corrective actions. |
| Operating Requirements | Surface preparation | Remove oil, moisture, rust, paint, scale, and other contaminants from the joint and nearby surfaces | Contamination can cause porosity, lack of fusion, hydrogen-related cracking, and unstable arc behavior. Confirm that coatings are safe to heat or remove them before welding. |
| Operating Requirements | Shielding gas control | Use the gas type, flow rate, hose condition, and regulator settings specified by the approved procedure | Check for leaks and protect the gas cylinder from heat and impact. Excessive flow can create turbulence and draw air into the shielding zone. |
| Operating Requirements | Pre-start inspection | - Battery charge and condition
- Cables and connectors
- Wire or electrode path
- Gas supply
- Controls and emergency stop
- Retrieval arrangement
| Document the inspection and remove the unit from service if any safety-critical component is cracked, overheated, loose, contaminated, or functionally defective. |
| Operating Requirements | Arc-start and shutdown sequence | Follow the specified start-up, arc-start, cooling, gas shutoff, battery isolation, and removal sequence | Keep the torch or electrode from contacting conductive surfaces unintentionally. Allow hot components to cool before placing the equipment in a case or charging area. |
| Inspection | Weld quality checks | Perform visual inspection and any required non-destructive testing specified by the project or welding code | Check for cracks, porosity, undercut, overlap, incomplete fusion, burn-through, arc strikes, distortion, and unacceptable profile. Record inspection results and repair actions. |
| Maintenance | After-use cleaning | Remove spatter, dust, moisture, and residue; keep vents, connectors, rollers, and torch components clean | Use cleaning methods approved for the enclosure and battery pack. Do not spray liquid into electronics, connectors, cooling openings, or battery compartments. |
| Maintenance | Consumable replacement | Replace worn contact tips, liners, rollers, nozzles, electrodes, seals, and damaged cables according to condition and service intervals | Incorrect or worn consumables can increase resistance, cause unstable feeding, overheat connectors, and reduce weld quality. Use parts with the correct size and rating. |
| Maintenance | Battery storage | Store batteries cool, dry, clean, protected from impact, and at the storage charge recommended by the battery documentation | Avoid long-term storage fully discharged or fully charged unless the manufacturer specifically permits it. Keep batteries away from metal objects that could bridge the terminals. |
| Maintenance | Inspection frequency | Inspect before each use; perform a documented periodic inspection based on duty, environment, and applicable workplace requirements | Increase inspection frequency in dusty, wet, corrosive, high-temperature, or high-cycle environments. Maintain records for batteries, chargers, cables, repairs, and calibration. |
| Environmental Limits | Temperature, moisture, and ingress | Operate only within the published temperature, humidity, altitude, and ingress-protection limits | If no rating is provided, do not assume the equipment is waterproof or suitable for explosive atmospheres. Protect the battery and electronics from condensation, standing water, and conductive dust. |
| Purchase Decision | Documentation and support | Require a manual, battery safety information, charger instructions, electrical ratings, duty-cycle data, spare-parts information, and service procedure | Prefer equipment with traceable inspection requirements, clear fault codes, replaceable wear parts, documented battery protection, and accessible technical support. |
| Purchase Decision | Total cost of ownership | Calculate the cost of the power unit, batteries, chargers, cables, consumables, ventilation, inspection, training, servicing, and replacement packs | A lower purchase price may result in higher operating cost if batteries have short service life, consumables are proprietary, cooling is inadequate, or maintenance access is poor. |
| Stop-Work Criteria | Conditions requiring immediate shutdown | Stop Work Gas alarm, oxygen deficiency, fire, battery swelling, smoke, overheating, damaged insulation, loss of communication, or failed retrieval system | Stop welding, isolate the power source when safe, evacuate or retrieve personnel according to the emergency plan, and do not restart until the hazard has been assessed and formally cleared. |